
How to Connect Canon GX3020 Wireless Printer? [Windows & Mac]
April 29, 2025
![How to Connect Canon GX3020 Wireless Printer? [Windows & Mac]](https://setupwirelessprinter.com/upload/blog/6810a5331f0e0how-to-connect-canon-gx3020-wireless-printer-to-windowsmac.webp)

Learn 'how to connect Canon printer to computer wirelessly' to print, scan, and fax documents easily without cables. This blog discusses the best wireless method for setting up the Canon GX3020 printer on Windows and Mac.
Assuming your printer is Wi-Fi enabled, the method discussed in this blog will only work for a Wi-Fi wireless printer. If your printer connects via Bluetooth, the process may vary slightly. This Wi-Fi setup is simple, and anyone from beginners to experienced printer users can set up their printer in less time. Explore this blog to begin your connection now.
What You Need to Connect Your Canon Printer Wirelessly
There are a few items that you need to verify before connecting your printer wirelessly to your computer. These items are as follows:
- Canon wireless printer
- Windows 10 or macOS operating system.
- Wi-Fi router
While ensuring the above items, also ensure that your computer and printer are placed close to your Wi-Fi router. This is necessary as your computer needs to communicate with your printer using the Wi-Fi connection.
How to Connect Canon Printer to Computer Wirelessly (Windows)
Wants to learn 'how to connect a Canon wireless printer to Windows 10', connect your printer to Wi-Fi. The process explained below is for Windows computers only. You need a Windows PC, a Wi-Fi router, and a functional printer. Once you have these two items, follow the steps described below:
- Place your computer and printer where they can receive a Wi-Fi signal properly.
- This is necessary as your printer needs to communicate with your Wi-Fi router.
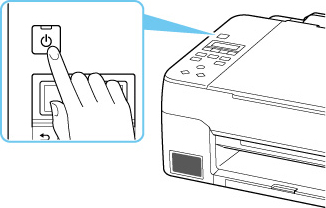
- Press the power button to turn on the printer. Ensure you have properly connected your printer to a power source.
- Refer to the manual with your printer for specific network setup instructions.
- If you don’t have it, go to the manufacturer’s support site.
- Head over to your printer’s screen and locate the Wi-Fi setup page.
- If prompted, enter your network’s password. This should be the same network that is connected to your computer.
- Then, turn on your Windows computer.
- Go to Start from the taskbar.
- Tap on the Settings (a gear-like icon).

- Now, click on Devices from the Windows Settings screen.

- Next, select Printers & scanners from the left side of the window.
- On the next screen, tap “Add a printer or scanner,” which is located at the top of the screen.
- When your printer’s name appears on the Printers & scanners window, click on the Add device.
- Finally, your printer is connected to your Windows computer wirelessly.
The above instructions may have helped you understand 'how to connect a Canon printer to Windows 10'. However, to connect your printer to your MacBook, refer to the following steps.
How to Connect Canon Printer to Computer Wirelessly (Mac)
Follow the steps given below to establish a connection between your Canon GX3020 wireless printer and your MacBook. Before you begin, ensure your printer and computer are close to your Wi-Fi router.
- On your printer, press the power button. Also, ensure it is connected to the power source.
- Verify each step with the printer’s manual if necessary.
- On the printer, navigate to the Wi-Fi setup page and input your network’s password. Connect your printer and computer to the same Wi-Fi network.
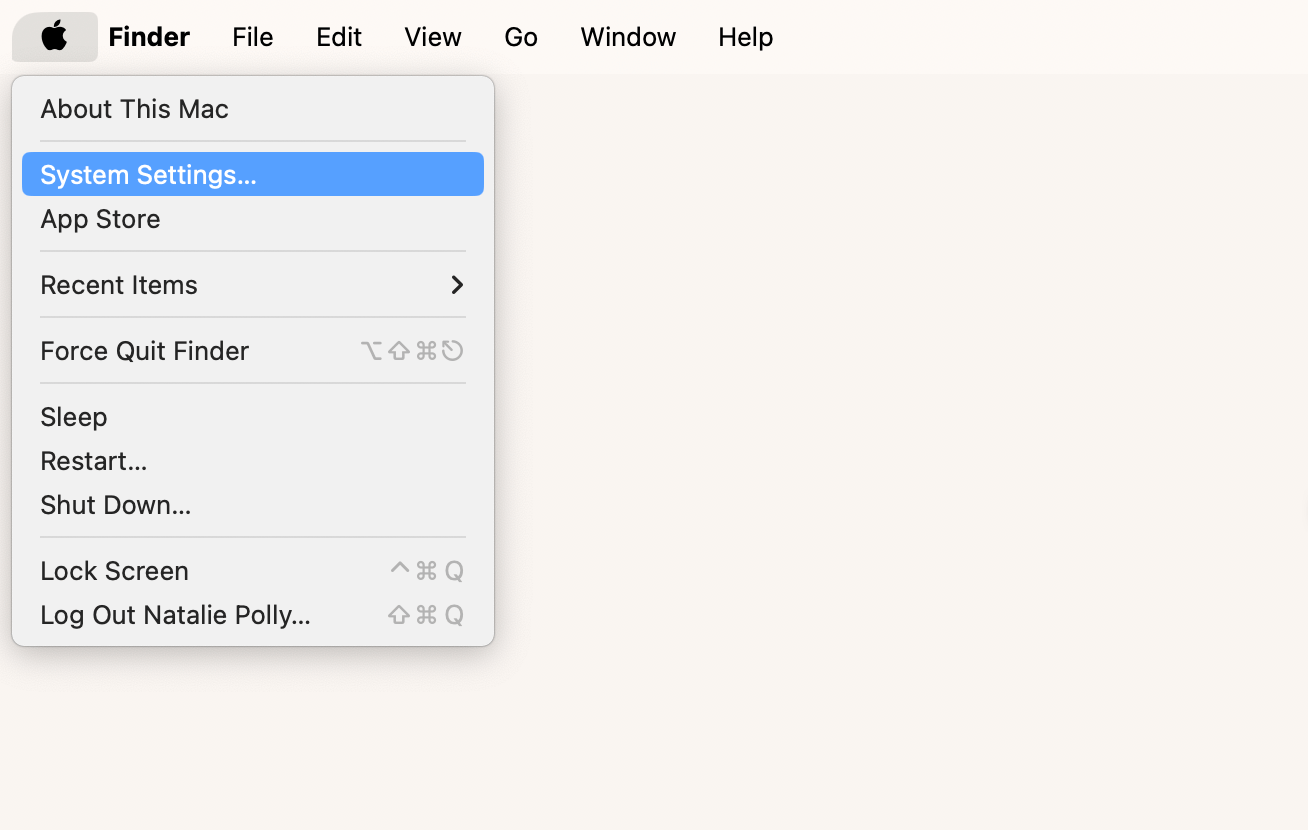
- Power on your Mac and go to the Apple menu, and from the cascade menu, select System Preferences.
![]()
- If you use macOS Ventura and later, the same option may appear as System Settings.
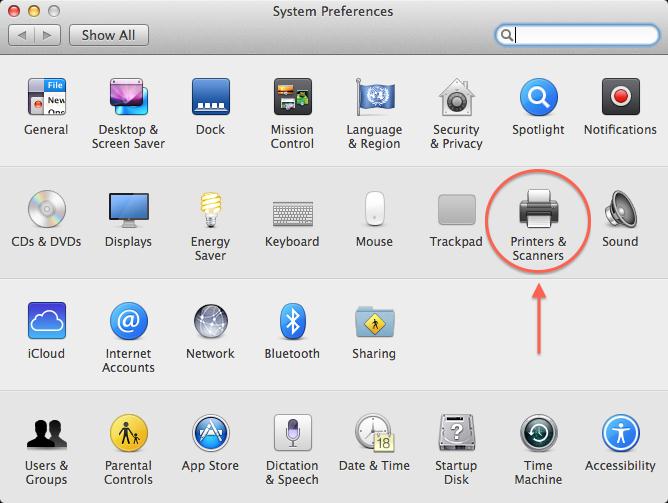
- Next, select Printers & Scanners from the System Preferences window.
- Afterward, select a “+” icon from the lower left corner of the new window screen.
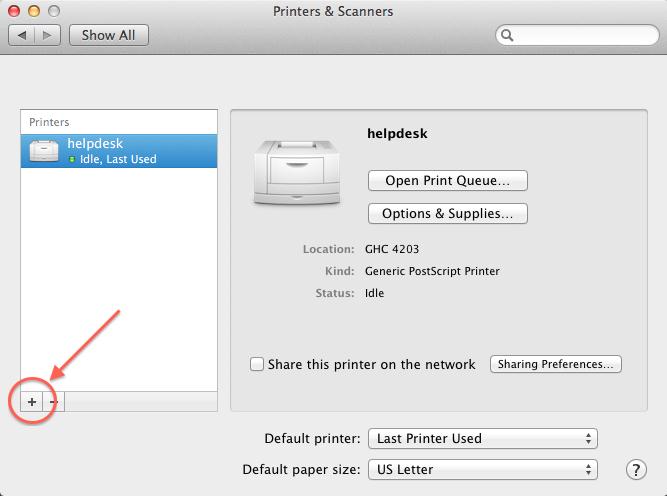
- Now, you can see your printer’s name on the screen. Select it to complete the connection process.
Finally, the instructions on 'how to connect Canon printer to computer wirelessly' end here. With these simple methods, you can easily connect your Canon printer to your Mac or PC to print, scan, and fax your documents.

Frequently Asked Questions
Question
How to Connect Canon printer to laptop using USB?
To connect your printer to your laptop, follow these steps:
- First, download the software for your printer from
the internet.
- Next, open the file you downloaded.
- Choose
the USB connection option when you see the Connection Method screen.
- Now, plug the USB cable into the printer and your
laptop.
- After that, turn on the printer.
- On the following screen, click Next.
- Now, follow the on-screen prompts.
- Finally, load some paper and print a test page.
- When you’re done, click Exit to finish the installation.
Question
Why Won’t My Canon Printer Connect wirelessly?
If your printer isn’t connecting wirelessly, it might be because your printer driver isn’t set up correctly. To resolve the issue, follow the steps simplified below:
- First, uninstall the downloaded driver.
- After that, reinstall it.
- Ensure the printer is connected directly to a Wi-Fi
network.
- Next, restart your computer.
- Finally, connect again.
Question
How to Connect Canon Printer to Computer Wirelessly?
Follow the steps below to connect your printer using the WPS method.
- Turn on your Canon wireless printer.
- Then, tap the network button on your printer.
- Select the
Wi-Fi option from the list menu on the printer’s screen.
- Select “Settings”
from the next menu.
Enter your Comments Here: